YouTube supports file uploads in a variety of video formats (the most recommended YouTube video format is MP4) but does not support direct audio file uploads. As a result, we can‘t get the audio of these videos directly.
But sometimes we just want the sound of a YouTube video, like a WAV audio. So how can we convert a YouTube video into a WAV audio file?
There are some tools on the web that claim to convert YouTube directly into WAV. But you’ll find that most of them don’t work for a variety of reasons.
Here we introduce how you can actually convert YouTube videos into WAV.
About WAV
WAV is a standard digital audio file format specially developed by Microsoft for Windows. WAV can store two-channel LPCM audio sampled at 44,100 Hz with 16 bits per sample. It can ensure that the sound is not distorted. It’s also a common audio format in windows platform. Linux and macOS systems also support playback.
How to Convert YouTube to WAV
Converting YouTube videos to WAV format is divided into two parts, one for downloading YouTube videos and the other for converting.
Part I: Download YouTube videos that need to be converted.
First of all, you can use some online YouTube to WAV converter or software to save YouTube video as MP4 or MP3. Here we take Ontiva as an example.
First, open Ontiva in the browser. Then, paste the YouTube video link you want to convert into the address bar in the middle of the page.
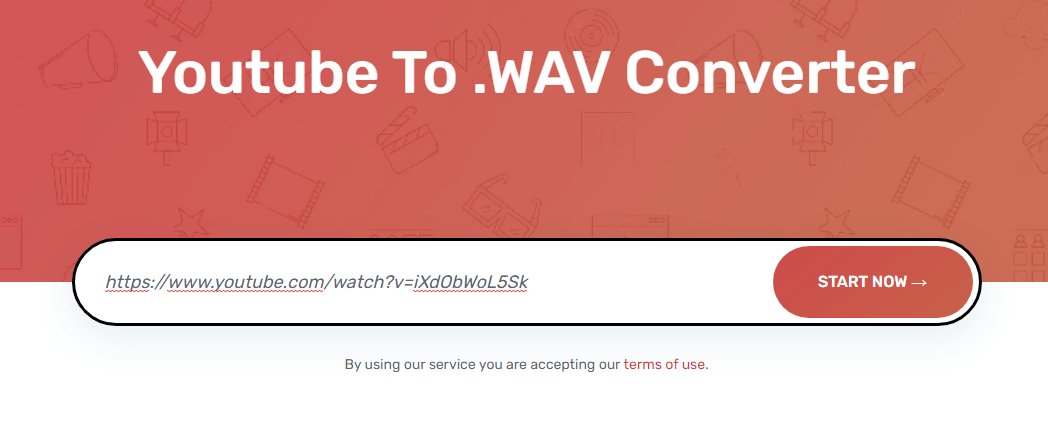
Second, click “Start Now”, and the website will process the video. Just wait for a moment.
Third, the video has been converted, and you can see that multiple quality MP3 or MP4 files can be downloaded there. We choose one of the downloads according to our own needs. Here we just download MP3 directly.
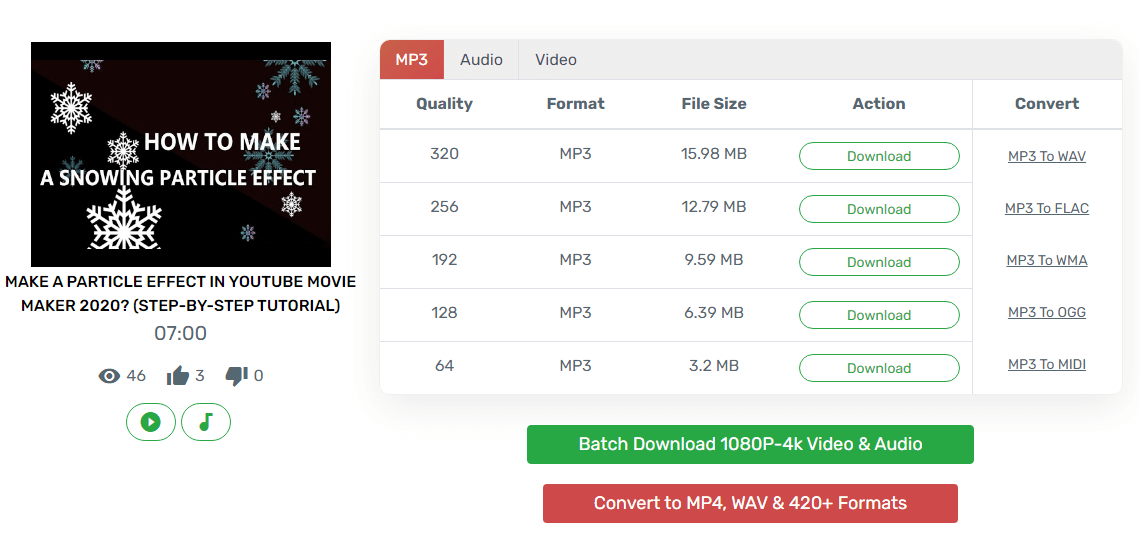
There is also an option to download WAV directly on the Ontiva website, but sometimes report errors. So download MP3 is a better choice. Other video download sites do the same.
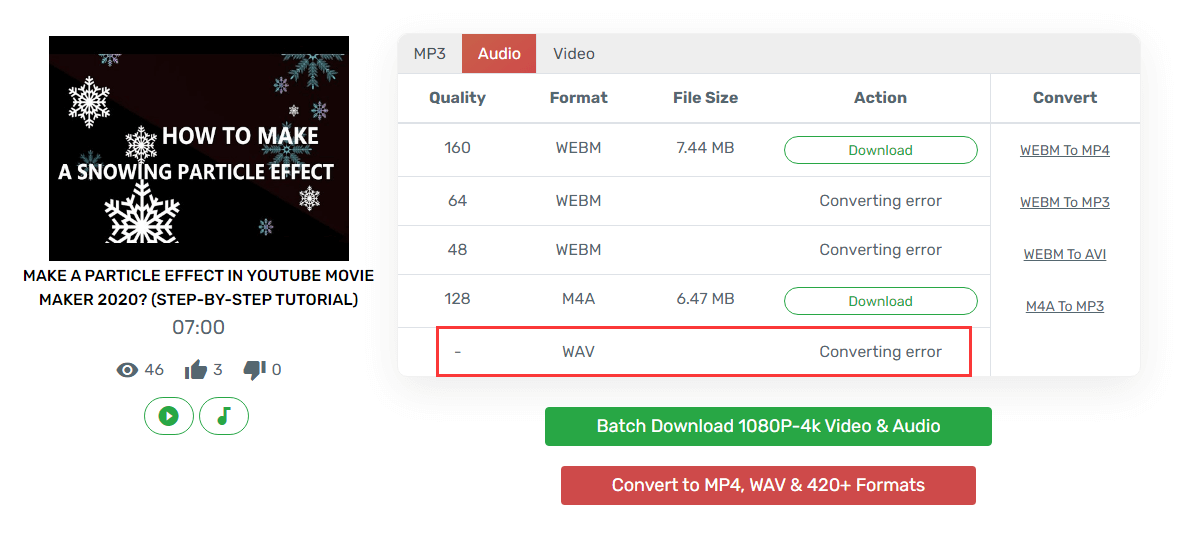
Note: Sometimes the ability of these websites will fail. Just wait for an update or find a replacement for another site.
Part 2: Converting downloaded YouTube videos to WAV using video editing software
Step 1, Download the all-in-one video editor-YouTube Movie Maker, which you can download it here.
Step 2, Open YouTube Movie Maker after installation.
Step 3, Open Audio Mixer in the icon above.
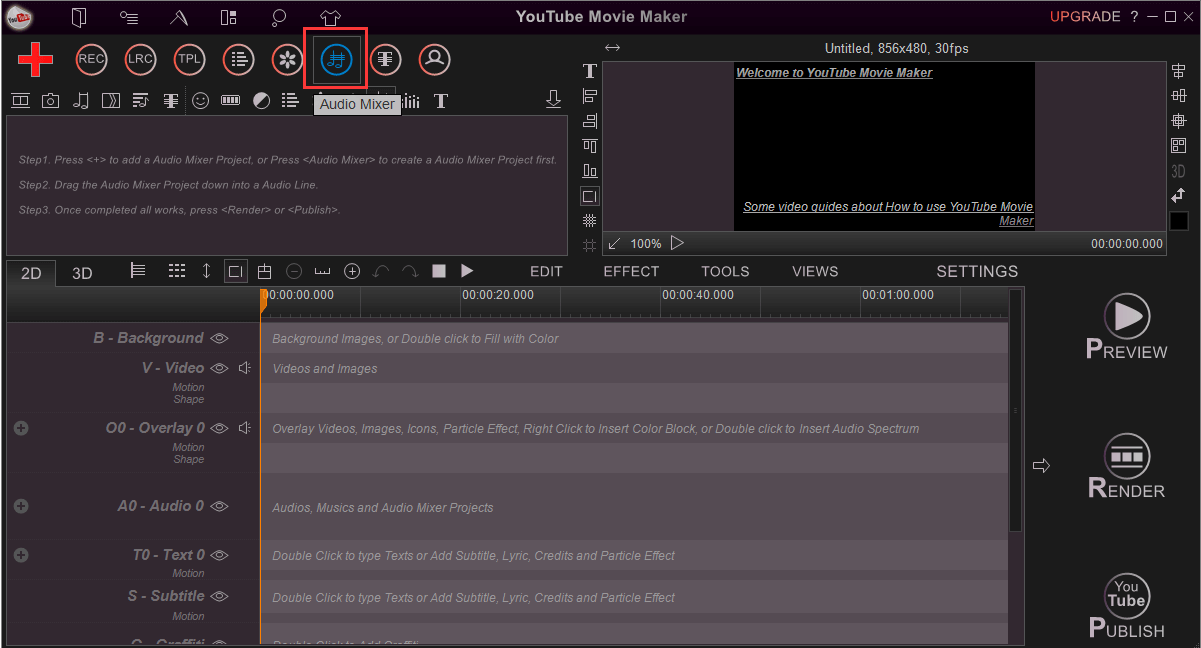
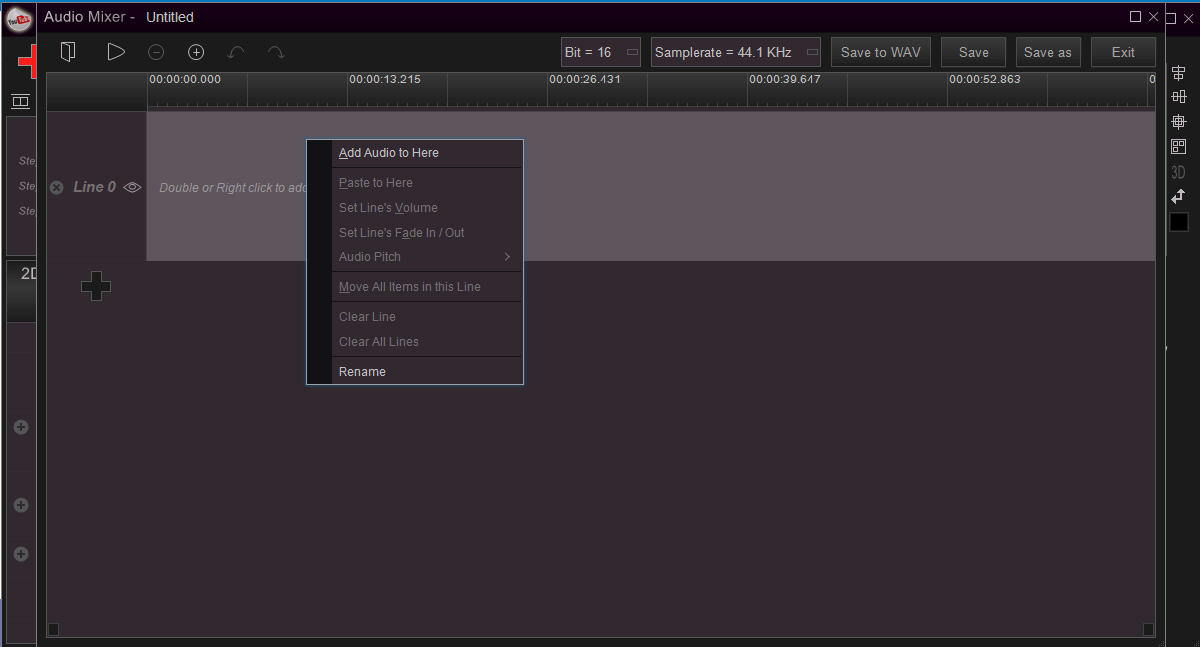
Step 4, Right-click in the Line area, select “Add Audio to Here”, then select the MP3 file you just downloaded and Add the file to the Line. Video file format like MP4 is also supported.
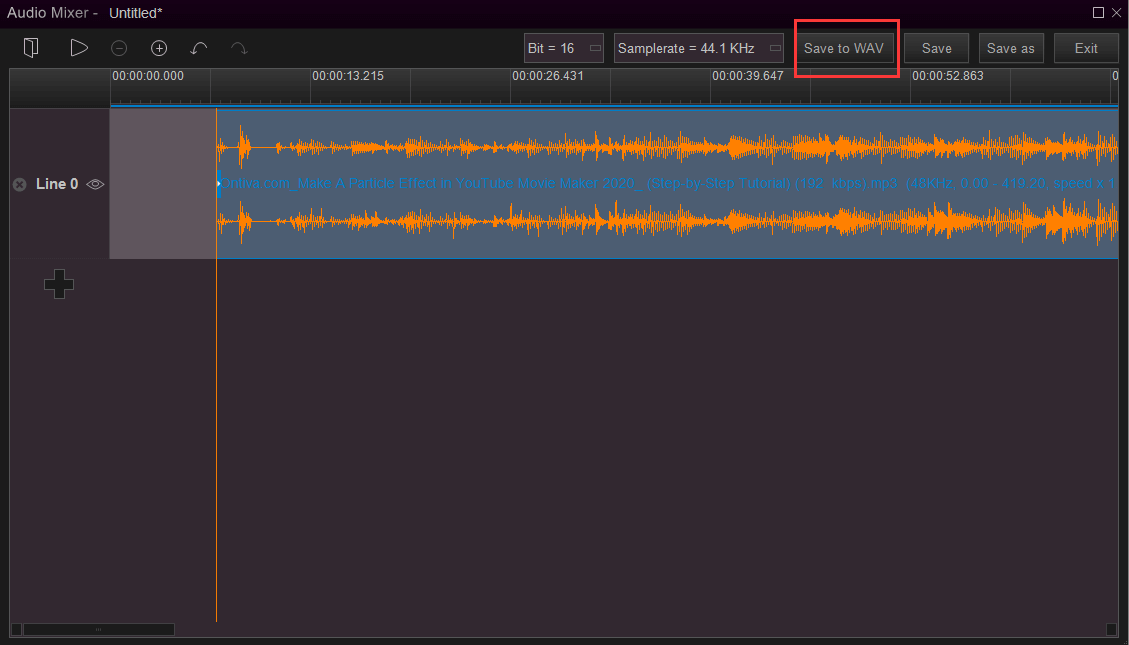
Step 5, Select the file you want to save as a Wav, then click “Save to WAV” to save.
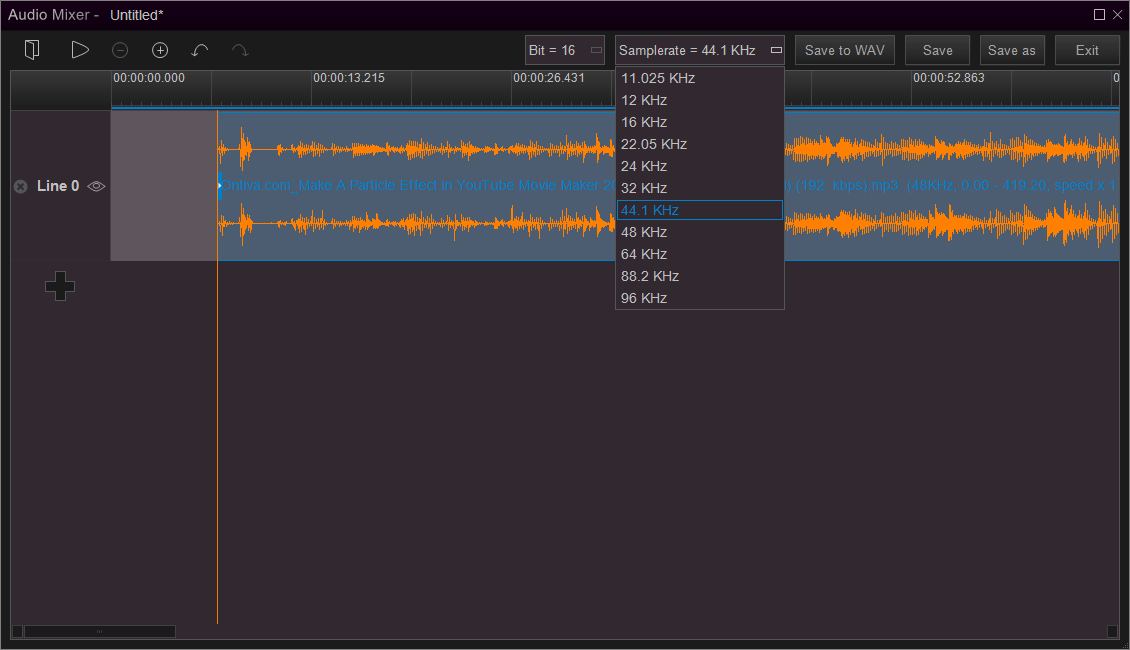
The quality parameters, such as the number of bits and sampling frequency, can be selected before saving.
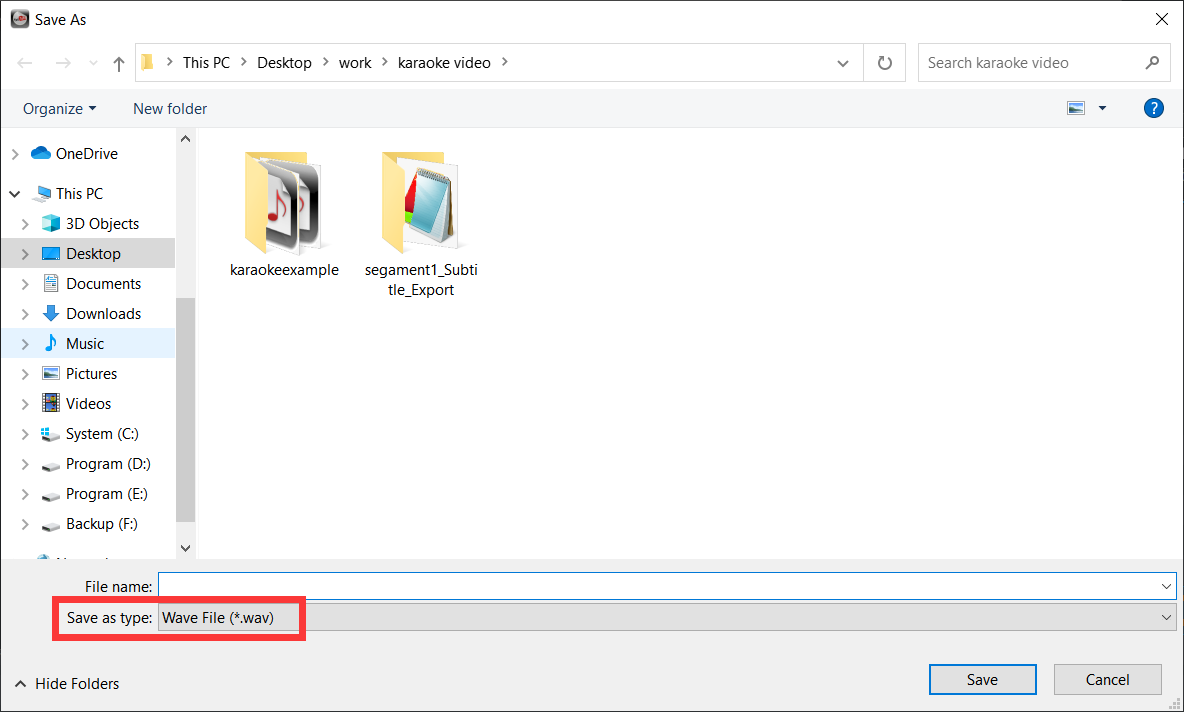
Step 6, save and name the file. All things are done.
That’s how we convert YouTube to WAV file we wanted. It’s easy, right? Just try it.


