
In former articles, we’ve talked about many crucial aspects of making a lyric video, such as a basic complete making flow, details like matching the lyrics with music, adding a scrolling text, and adding 3D/karaoke effect.
This time, we’ll show you how to make a lyric video with English translation through a text tutorial and a video tutorial.
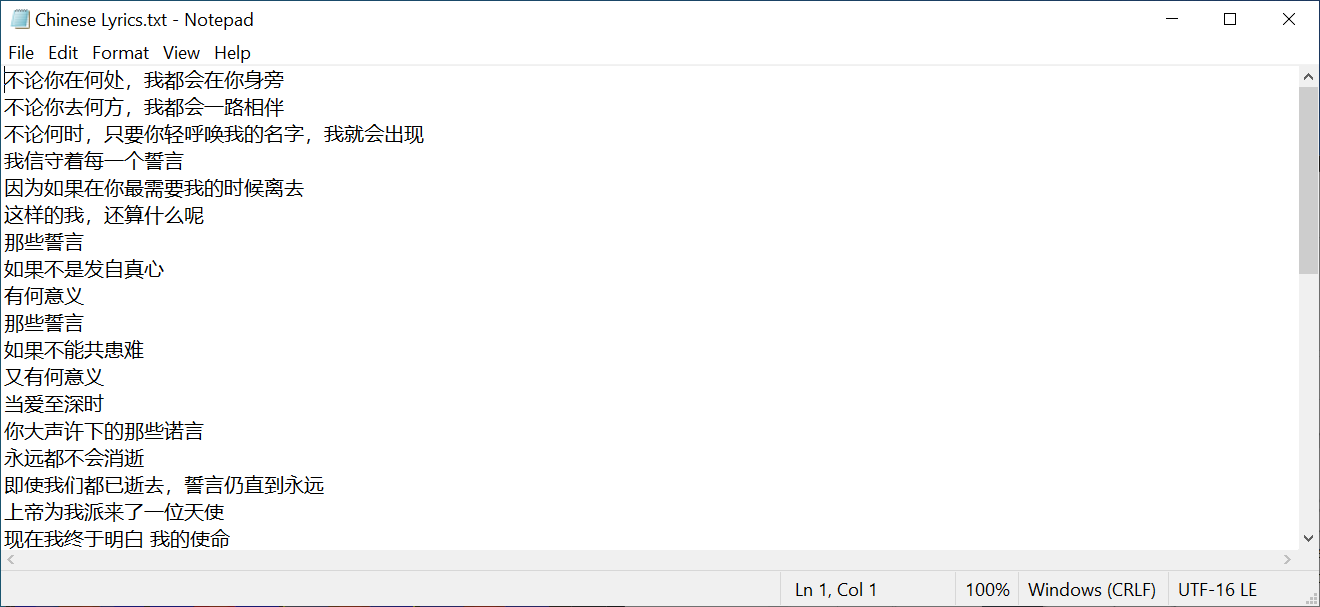
Before that, we need to prepare an English lyrics *.txt file, another language translation of lyrics *.txt file, a *.mp3 file of the song, and a video or an image.
Step 1: Run the “YouTube Movie Maker” program and click “Make YouTube Videos”.
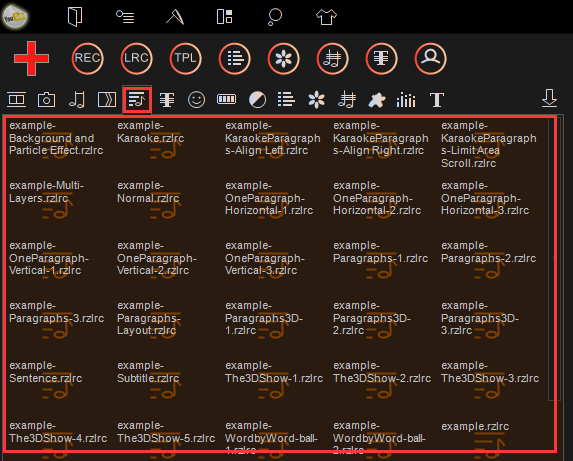
Step 2: Click “Lyric” and choose an example and double-click to open it.
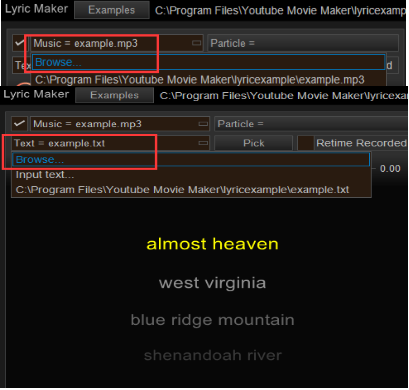
Step 3: Change the music and add the corresponding lyrics.
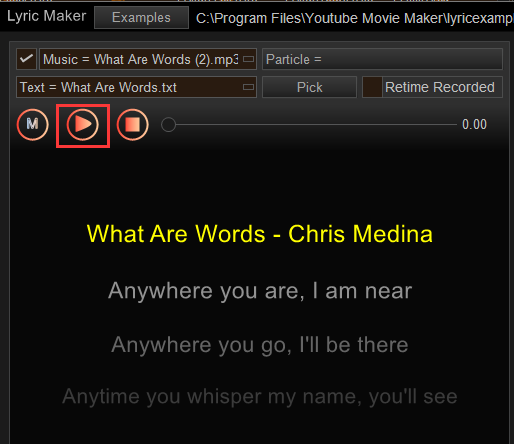
Step 4: Click “Start to Record” to match the music with the lyrics.
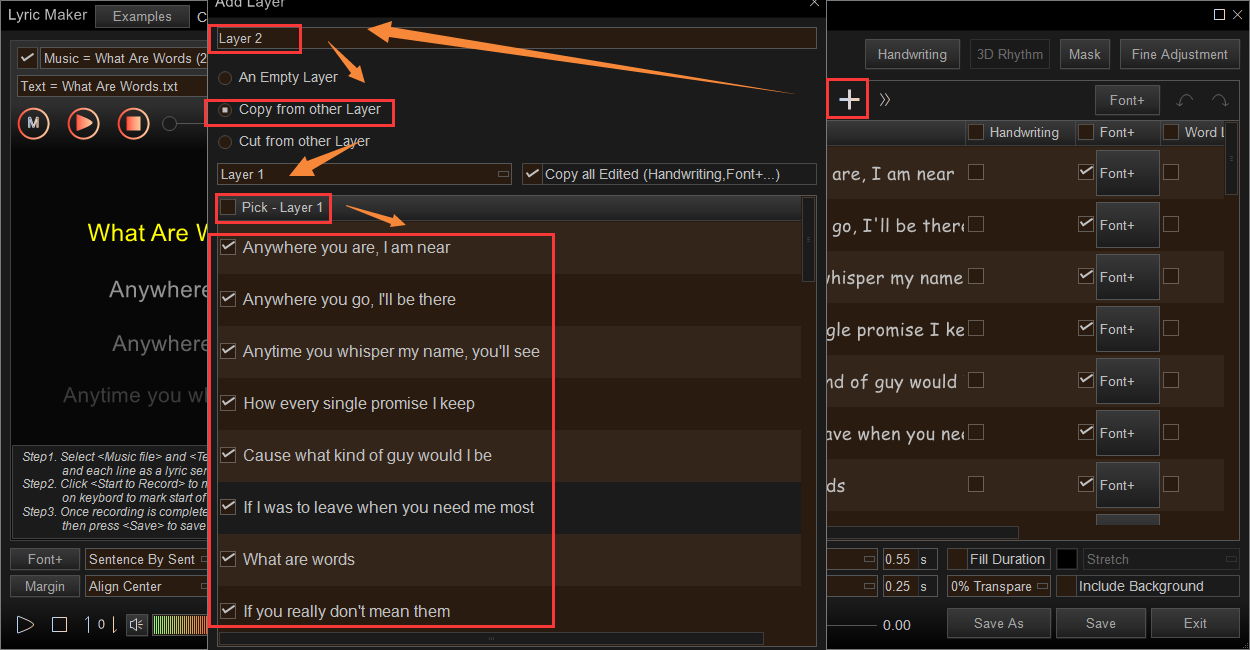
Step 5: Click “Append a New Layer” or directly “Alt+A” to add a new layer (Layer 2). And then choose the option “Copy from Other Layer” and pick the lines you want to keep for Layer 2.
Open the prepared file of another language translation.
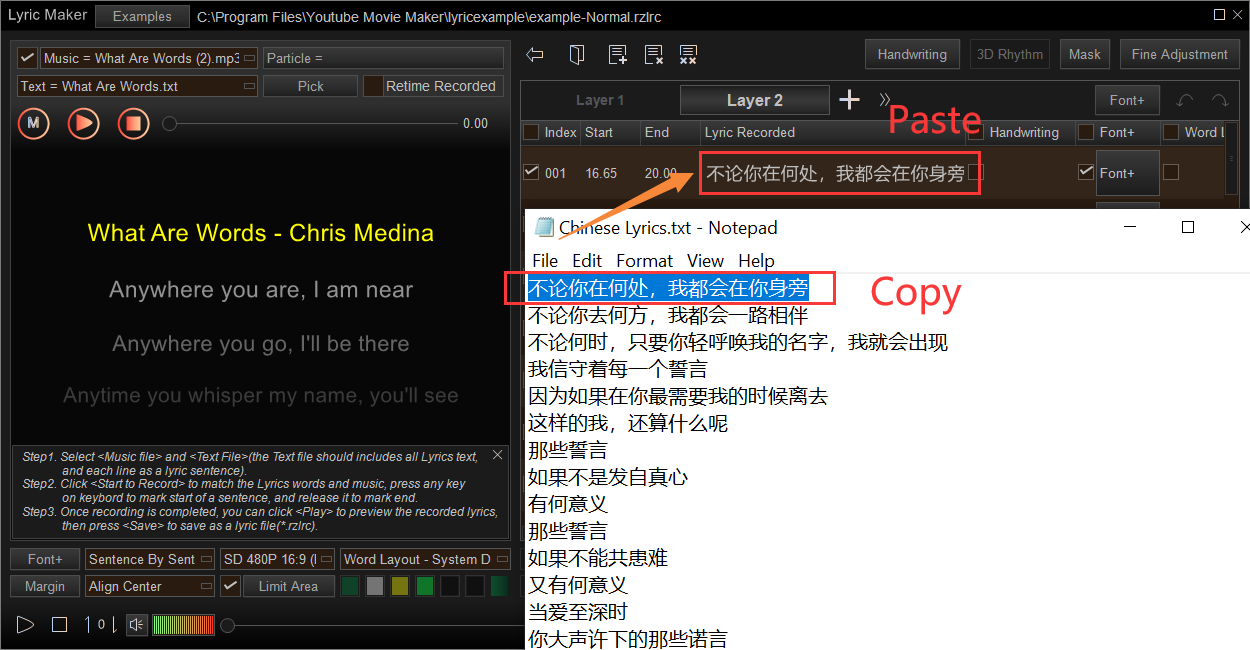
Copy the translation and paste correspondingly on each line of the English lyrics.
Step 6: Repeat the above steps to add another new layer (Layer 3). And then choose the option “Cut from Other Layer” and pick the lines you want to cut for Layer 3.

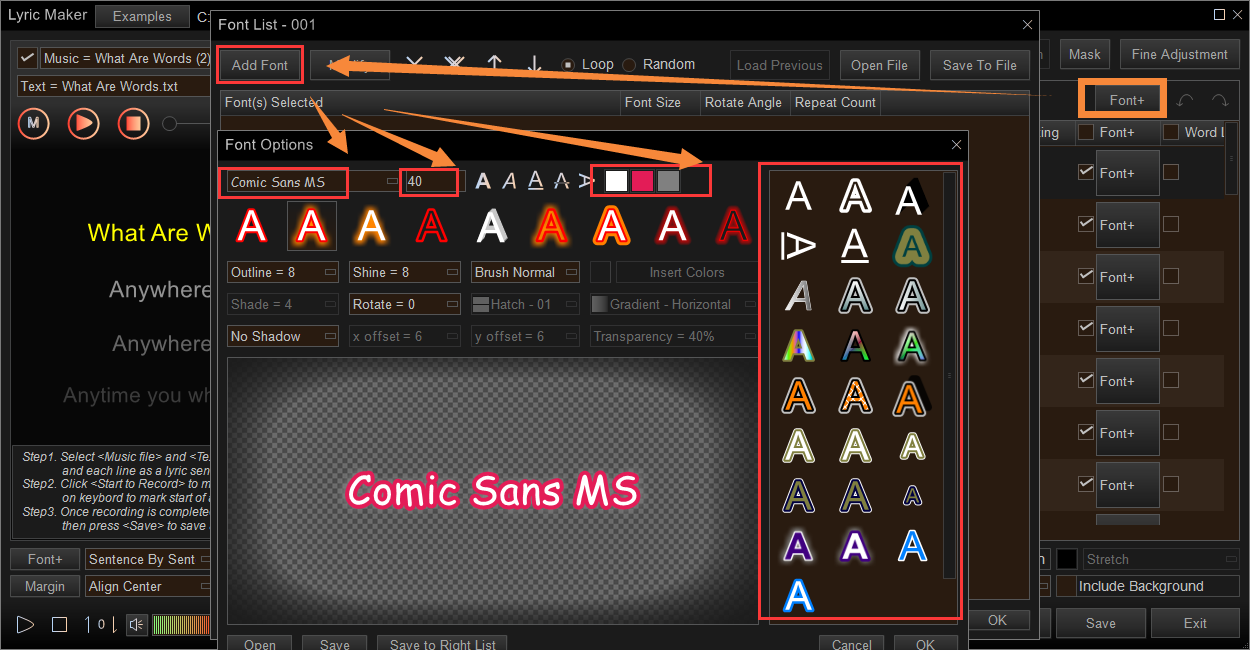
Step 9: And then Click “Font” > “Set to All Lines” to change the font, font size, font style and color of each layer’ lyrics.
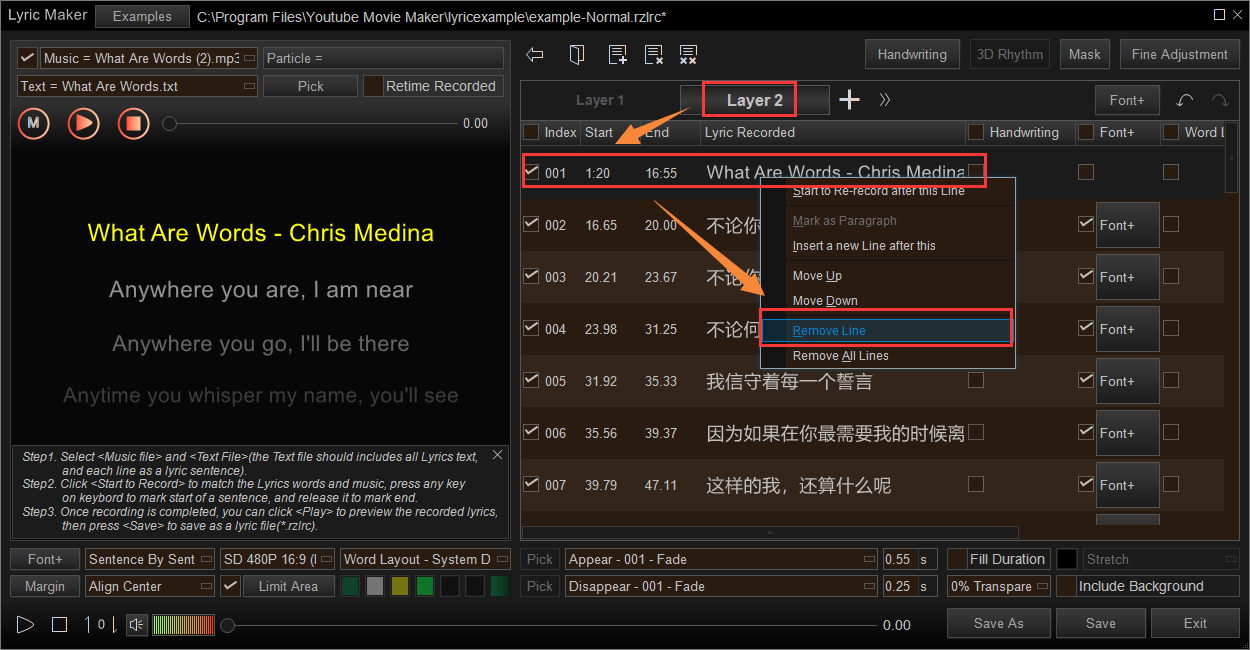
Step 10: Don’t forget to remove the needless song title of the second layer to match with the first layer.
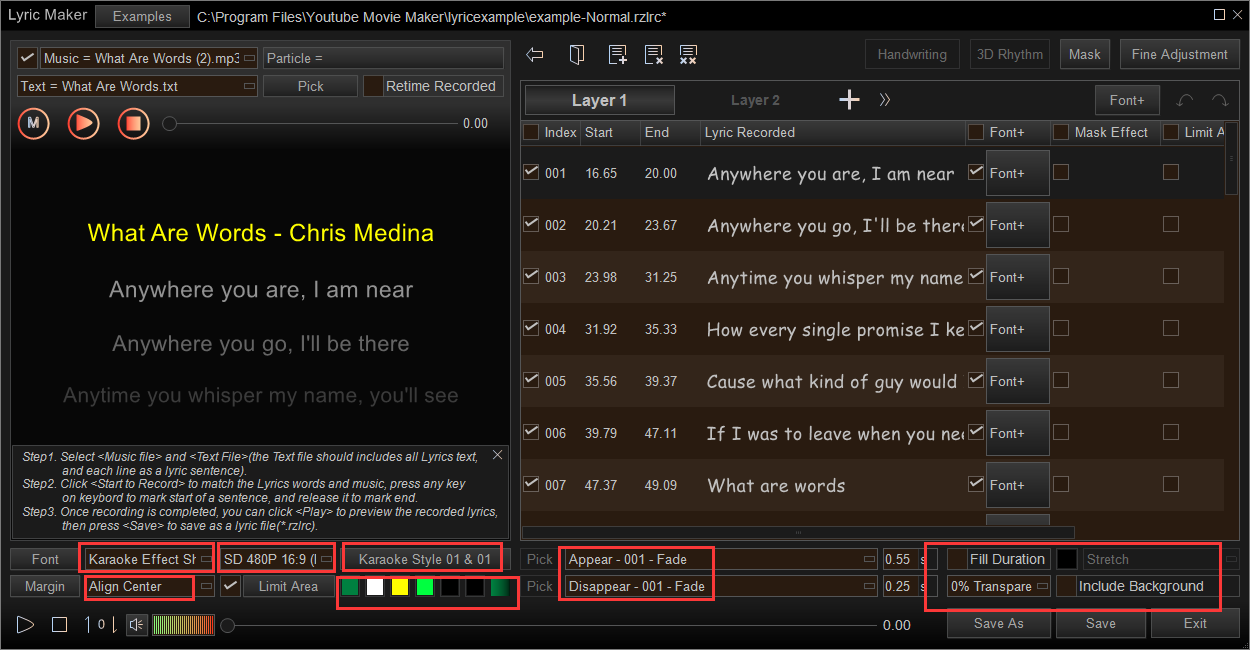
Step 11: Set the lyric display mode like the effects of appearing and disappearing, the color of the lyrics, and the ways of showing (sentence by sentence, word by word or paragraph by paragraph, etc..)
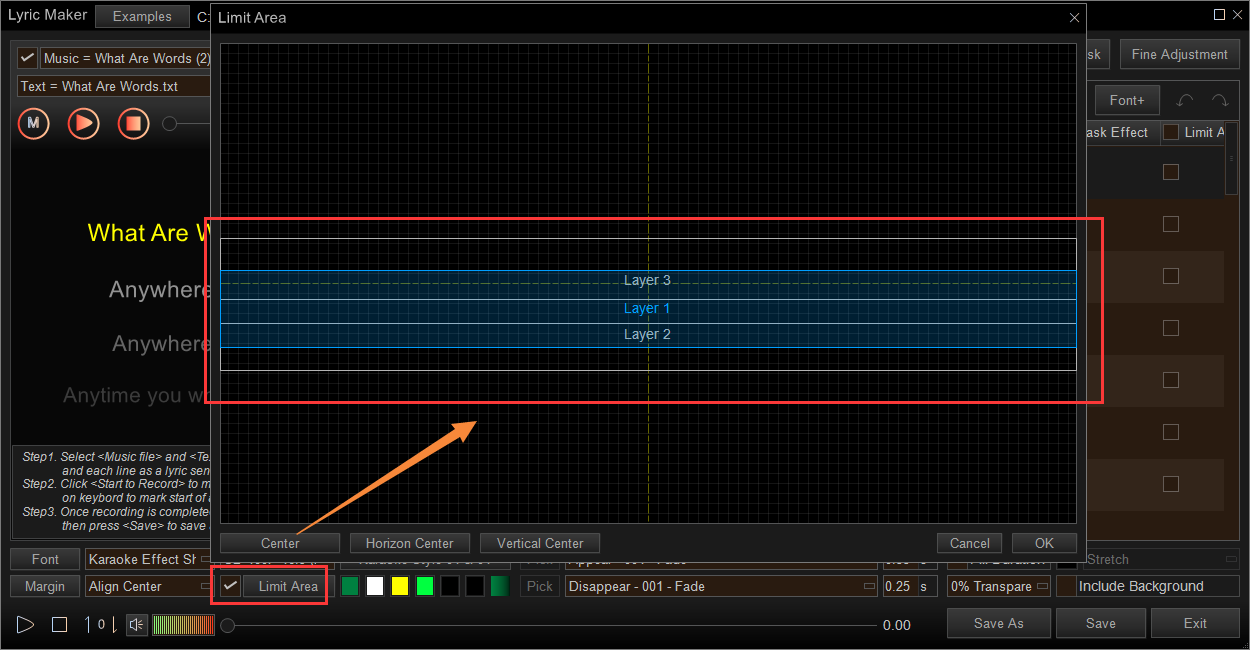
Step 12: Don’t forget to set the limited area of each layer.
Step 13: Save as a lyric file.

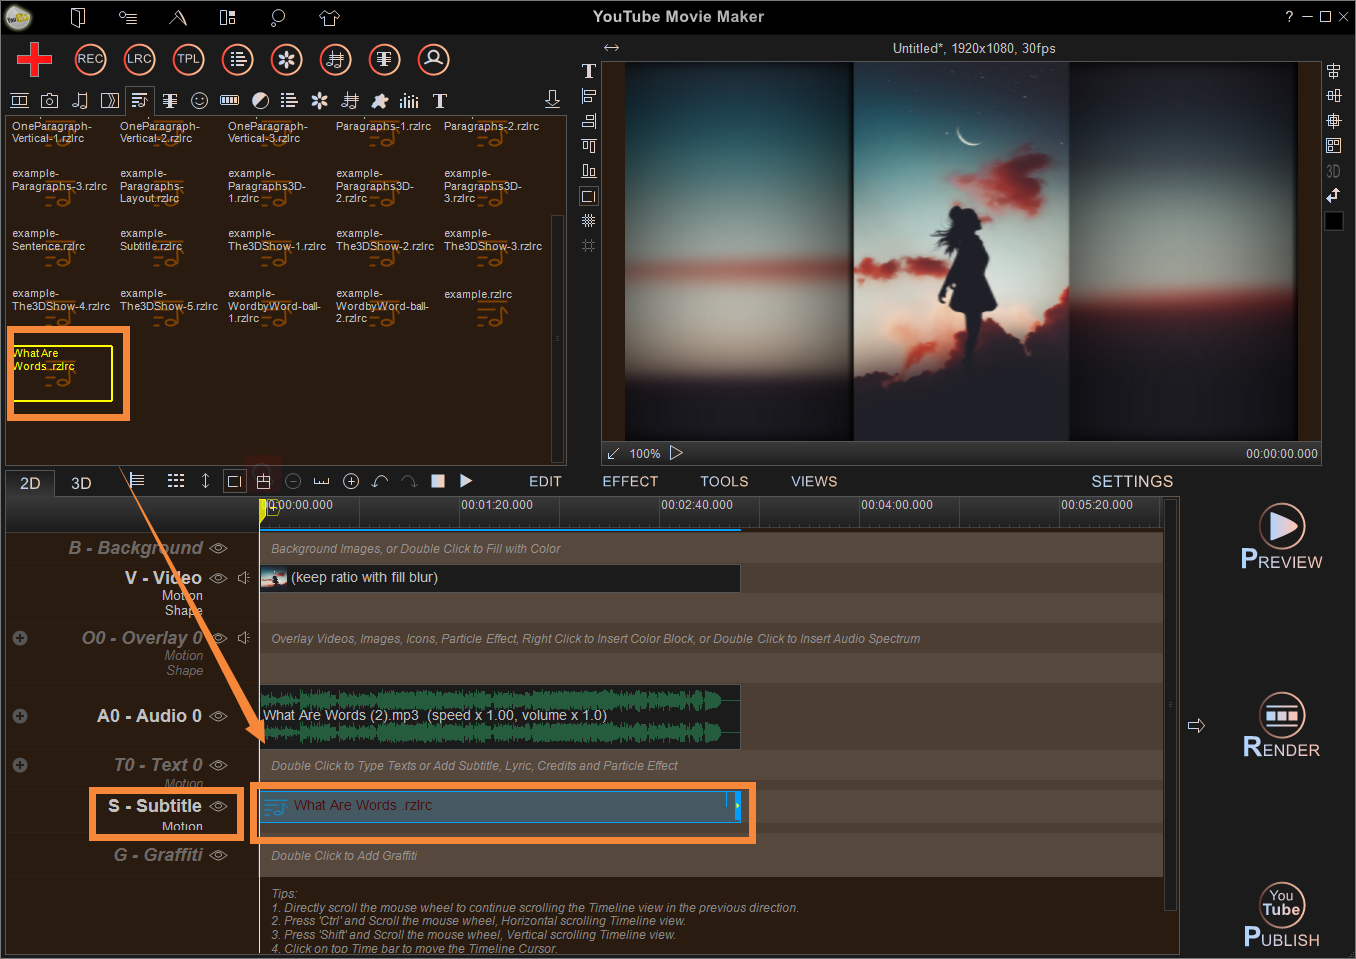
Step 14: Finally, you can add this lyric file to the Text/Subtitle Line. Then add music, image/video background to it.
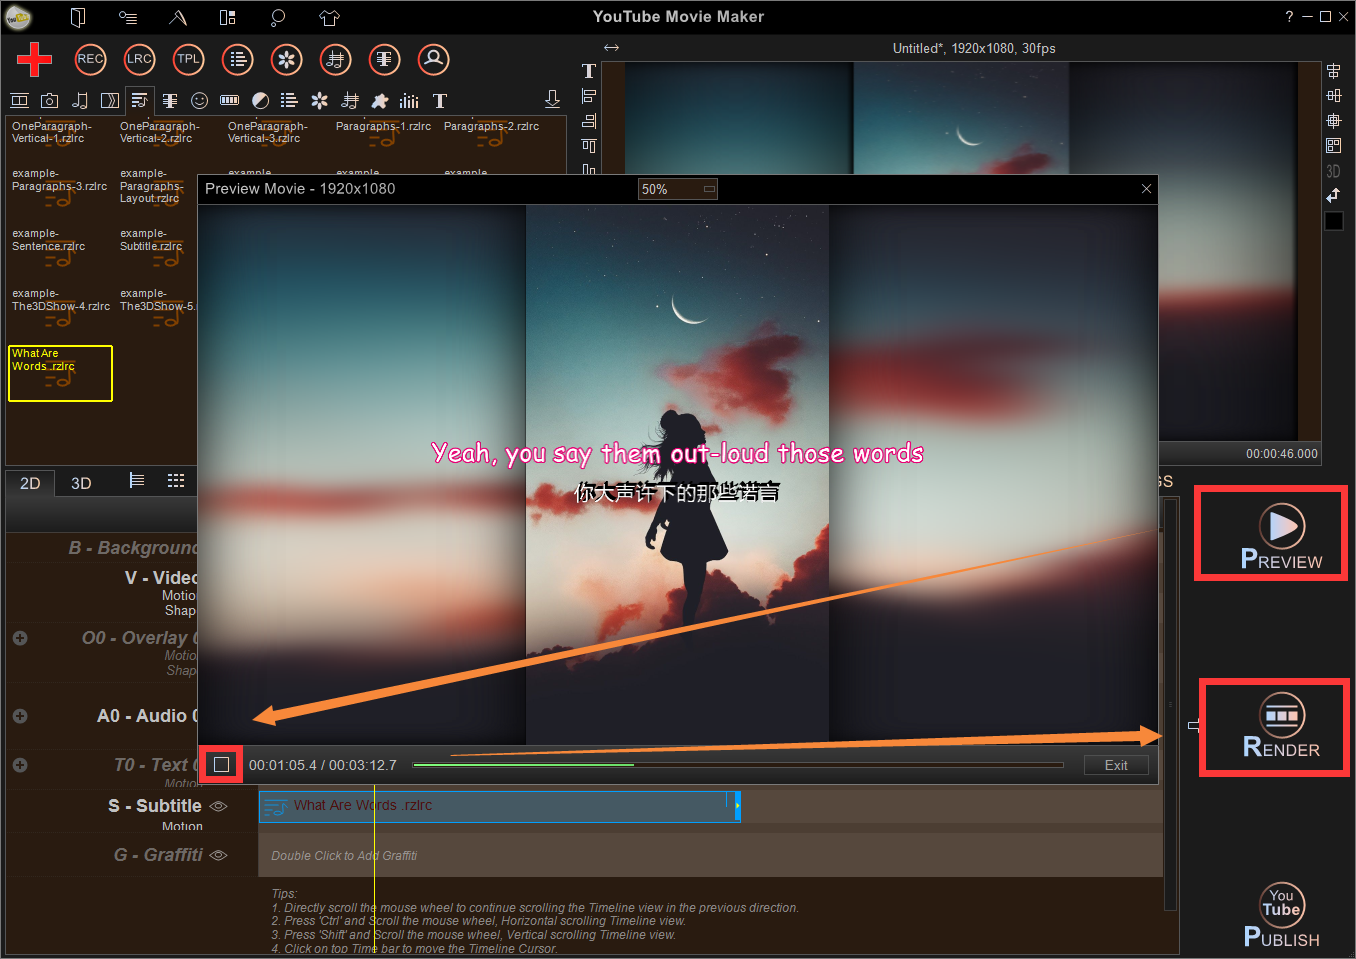
Step 15: Preview to see if there is anything that needs to be adjusted. Or render it.
Video Tutorial:


