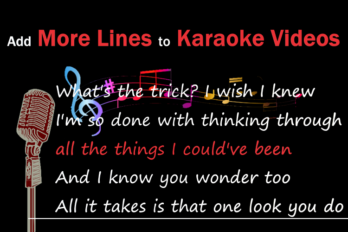
We received many emails asking how to use the feature “Fine Adjustment” in karaoke video/lyric video making progress.
So we made a tutorial about how to make a karaoke video demo including the usage of the “Fine Adjustment”.
The tutorial can be divided into 4 main steps.
A video tutorial on how to make a karaoke video demo:
Step 1: Run YouTube Movie Maker.
Click “Lyric Maker – Lyric Video Maker(Full Mode)”.

Upload a music file and a lyric text file.

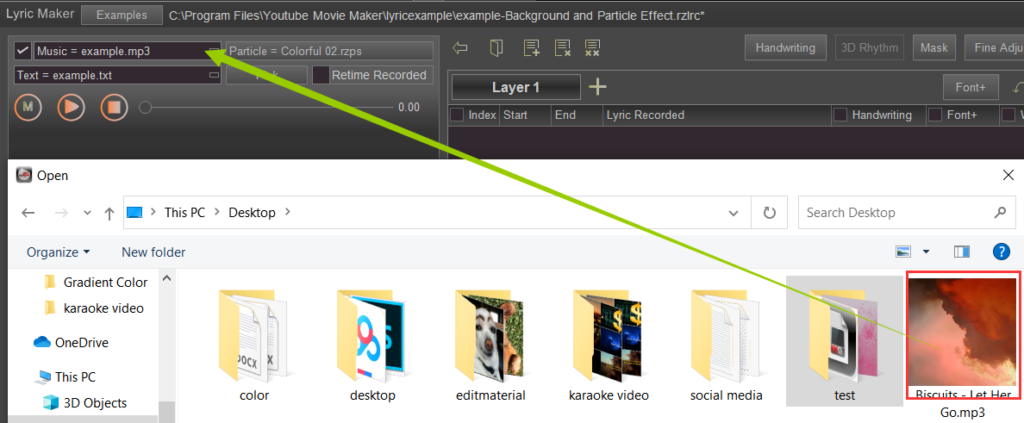
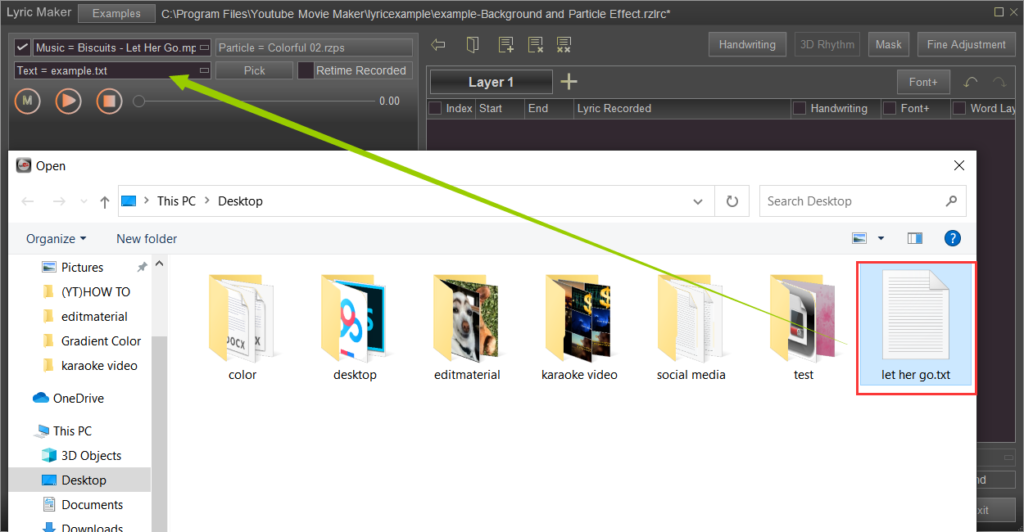
Click “Play”:
Press and hold any key on your keyboard at the beginning of a lyric is singing.
Release the lyric when it finished.
Repeat the step until the last lyric.
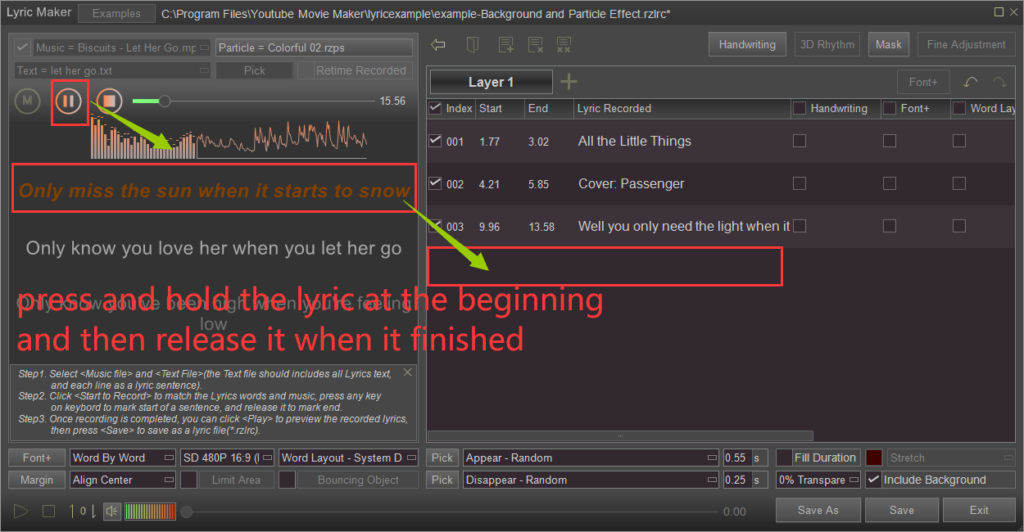
Step 2. Fine adjust the lyrics to match the sound accurately.
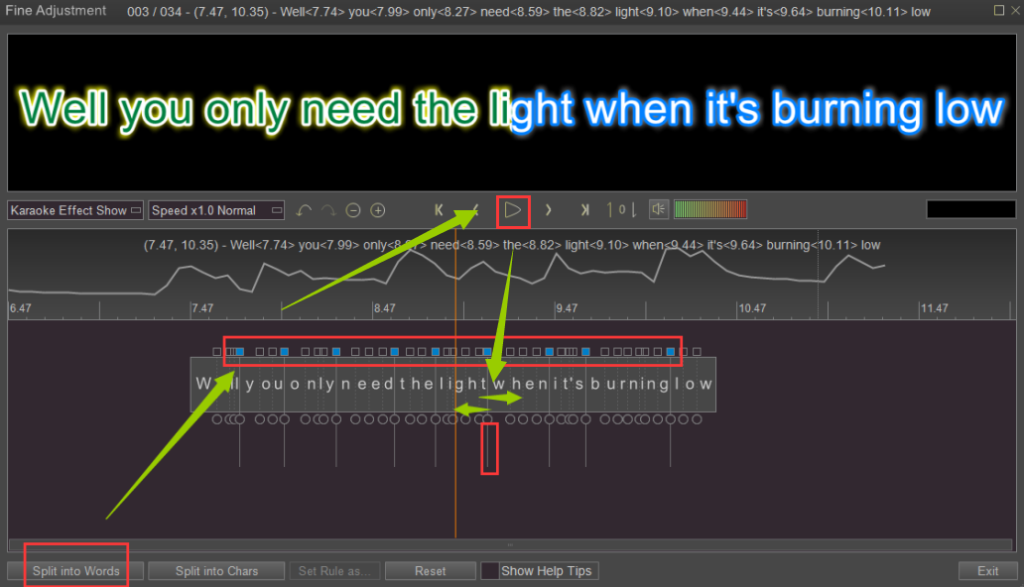
Click “Fine Adjustment”- “Timeline Mode”.

Start from the first lyric.
Choose “Split into Words”.
Click “Play” to stop at the word need to be adjusted.
Right/left move the cut-off line to extend/shorten the word duration.
Repeat the step until the last lyric.
Step 3. Change the lyric font.
Click “Font”- “Set to All Lines”.

Change the font size, font style and color of the lyrics.

Change the various parameters, such as the lyric display area, lyric display mode and so on.
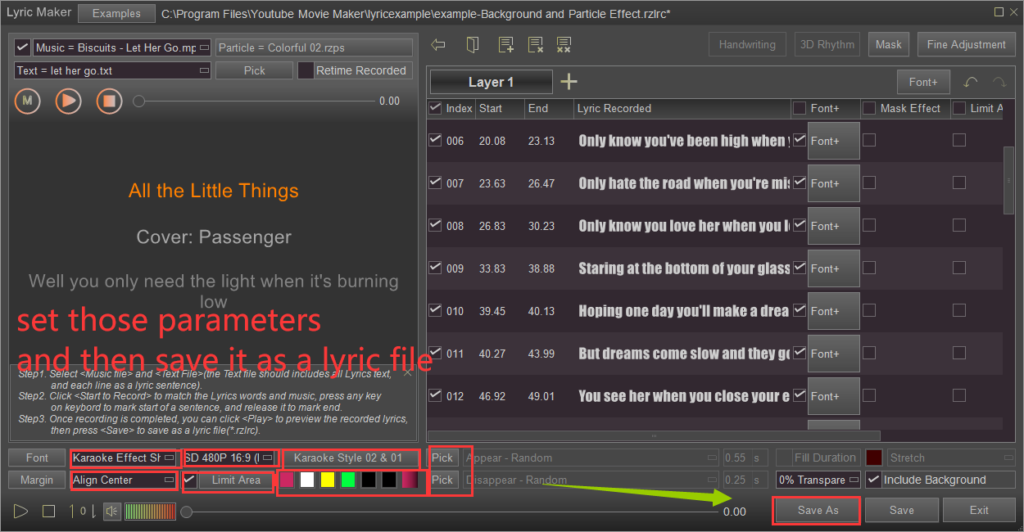
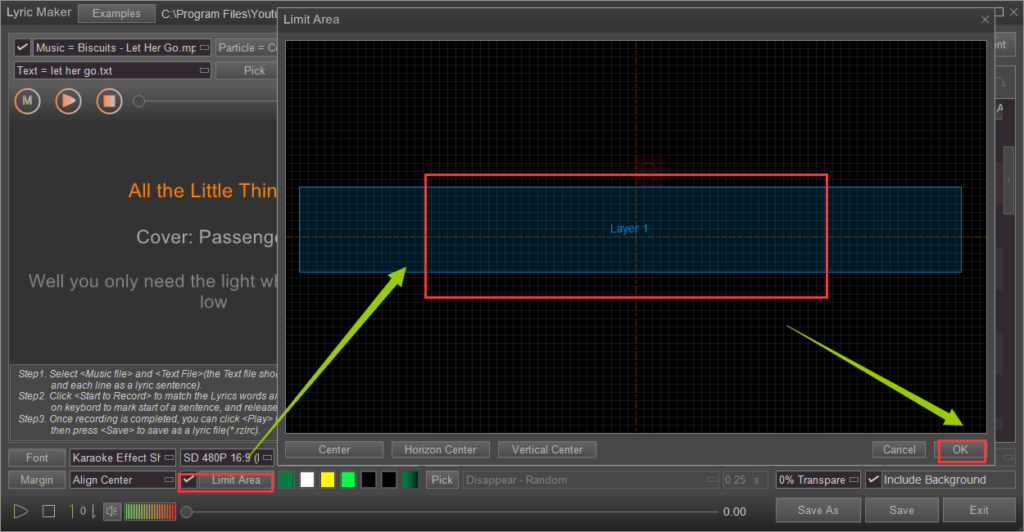
Save it as a *.rzlrc file (a lyric file).
Drag the lyric file to the Text Line and drag the corresponding music file to the Audio Line.
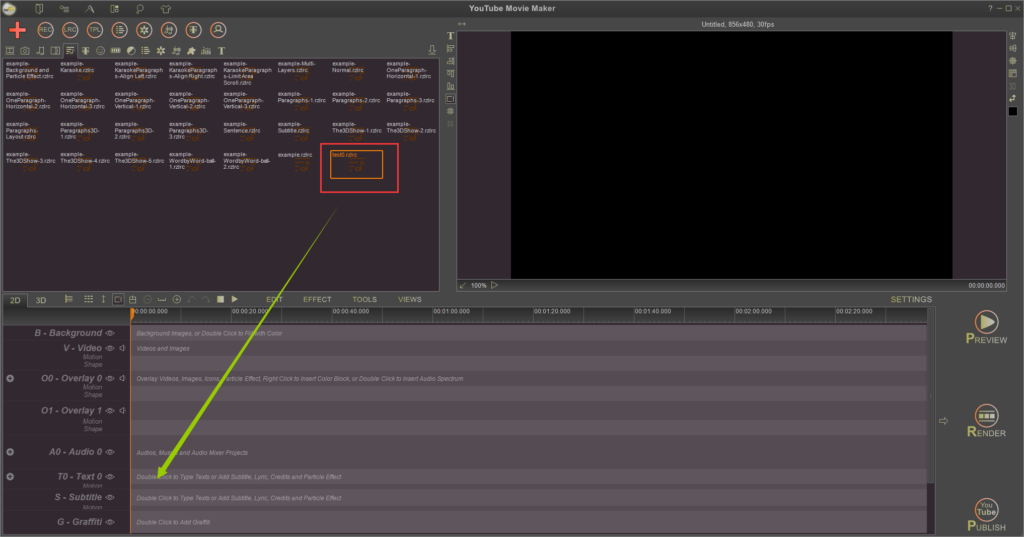
Press “Preview”-“from Current Frame”.


Step 4. Add a background video to the Video Line.
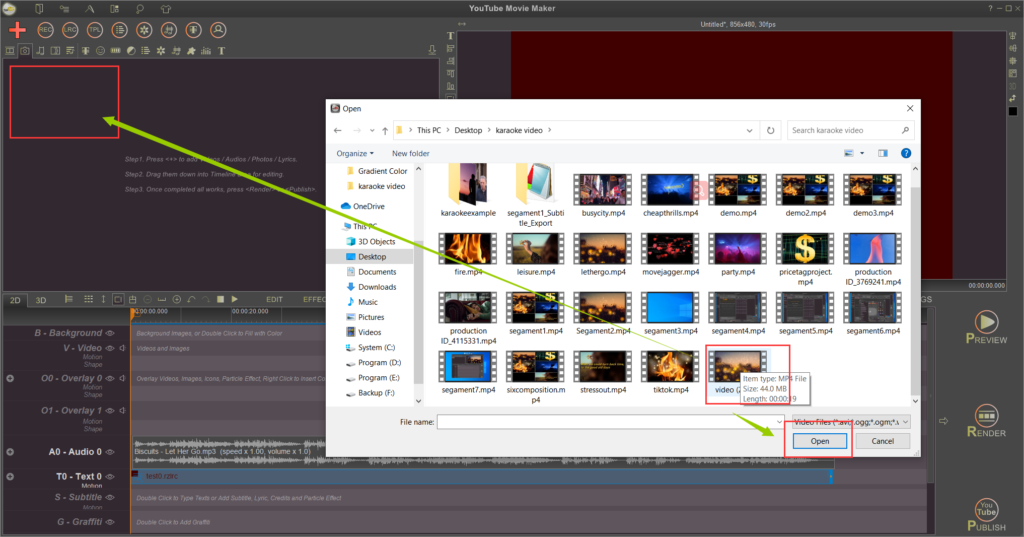
Click “Preview”.

Right-click the video and find the “Color Adjustment”.

Change the video’s color to make it match the emotional color with the lyrics.

Preview it again.

At last, press “Render” to save it locally.

